

I posted in a recent article about the significance of Thunder 25’s Network Capture RTSP updates and its usefulness. I’ll show how to leverage that in a situation where having a stationary camera setup that can be set up quickly, and is extremely mobile and viable in many situations. I also used this configuration below via Catapult Focus Server with success, even using it with multi-angle capture.
One important note: Make sure you are on the same network as your network capture device or you will run into issues. This network does not need to be connected to the internet so if you do have a wireless router you carry around that should work great.
What is RTSP and other terms below?
I think I should start this off by explaining what the hell those 4 letters even mean and its significance. RTSP is the acronym for Real-Time Streaming Protocol and it’s basically the way a video stream is sent from one device to another. With RTSP, the user receiving the real-time video feed from the source have the ability to use features like pause/play/record of said video feed.
Feel free to look into it more deeply, but to keep it simple for everyone’s sake this is the protocol Catapult chose for their network capture devices and is the key to getting any network streams configured for your Catapult devices.
H.264 is HOW the video is being compressed so it can send such a large amount of data in a stream. If the data from the video isn’t being compressed it can be EXTREMELY massive for unnecessary purposes. While there is a quality loss for what we need the video for, it will not be significant enough for us to notice.
Lets move on to what to look for in an Android device for delivering a quality video stream.
Phone Requirements/Recommendations
I’m a primary iPhone user but highly suggest Android phones for these cameras because of the options that are available and how open their operating system is. Another perk of Android is the cost to get one with high-end cameras is much lower. A couple notes for me regarding choices:
- For 25-26 I used the Google Pixel 6a – the camera quality was great, it ran the IP Webcam Pro with on issues at 60FPS and was extremely easy to work with.
- If I were to suggest one moving forward I would say any Google Pixel 8 and up either the Pro model, or the base model and not the A model. With these you would have access to the ultra-wide camera angle, which the A Model lacks, as i found out unfortunately. With the ultra-wide angle you can set one of those up at center-ice for practice and get the entire ice with zero issues.
- Samsung Galaxy phones for some reason are locked down to limit outside apps to 30FPS. I could never get them recording at a higher FPS regardless of the app.
IP Webcam Pro
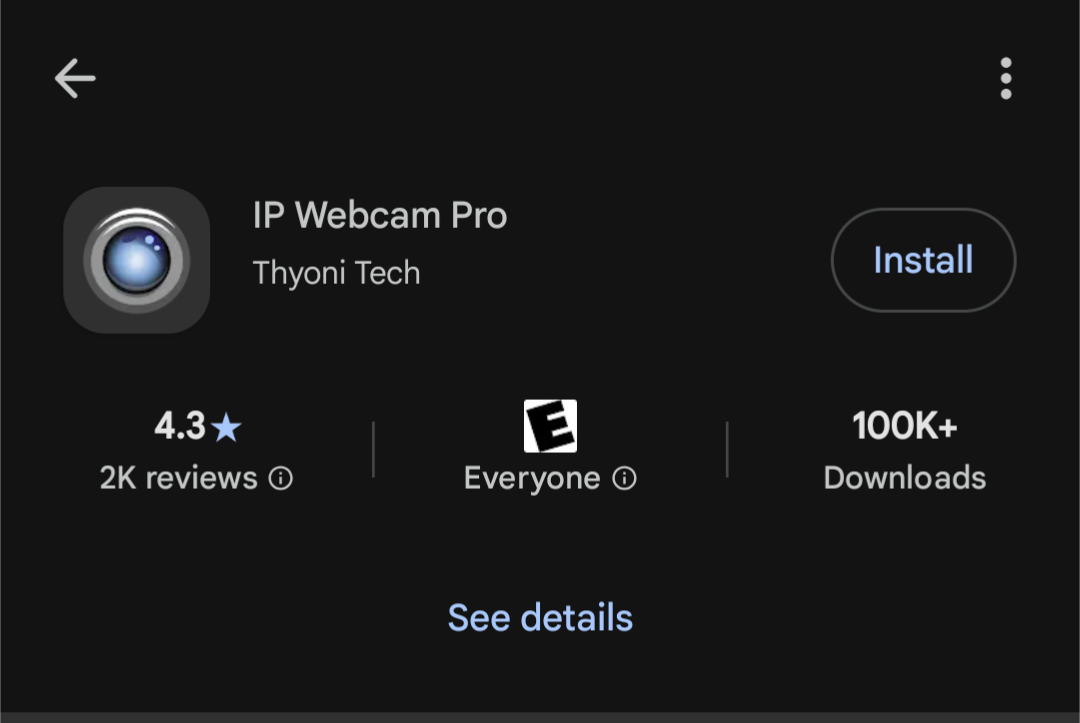
I think I tried every App I could find on serving up RTSP feeds on the Google Play Store (Android’s App Store) but Thyoni Tech’s IP Webcam Pro is the one I kept coming back to for its simplicity and ease of use. I started fresh with a new install of the App when I put this guide together, to make sure this was the steps to get a successful stream.
- Download & install the App from the Google Play Store by typing “IP webcam pro” – it will by the developer Thyoni tech. There is a free version, but I suggest the Pro, and its one time $4.99USD cost.
- Open the app and lets get started with setting up a compatible video feed. Click on the “Video Preferences” option and you will be hit with a prompt asking for access to record photos & videos. Go ahead and allow.
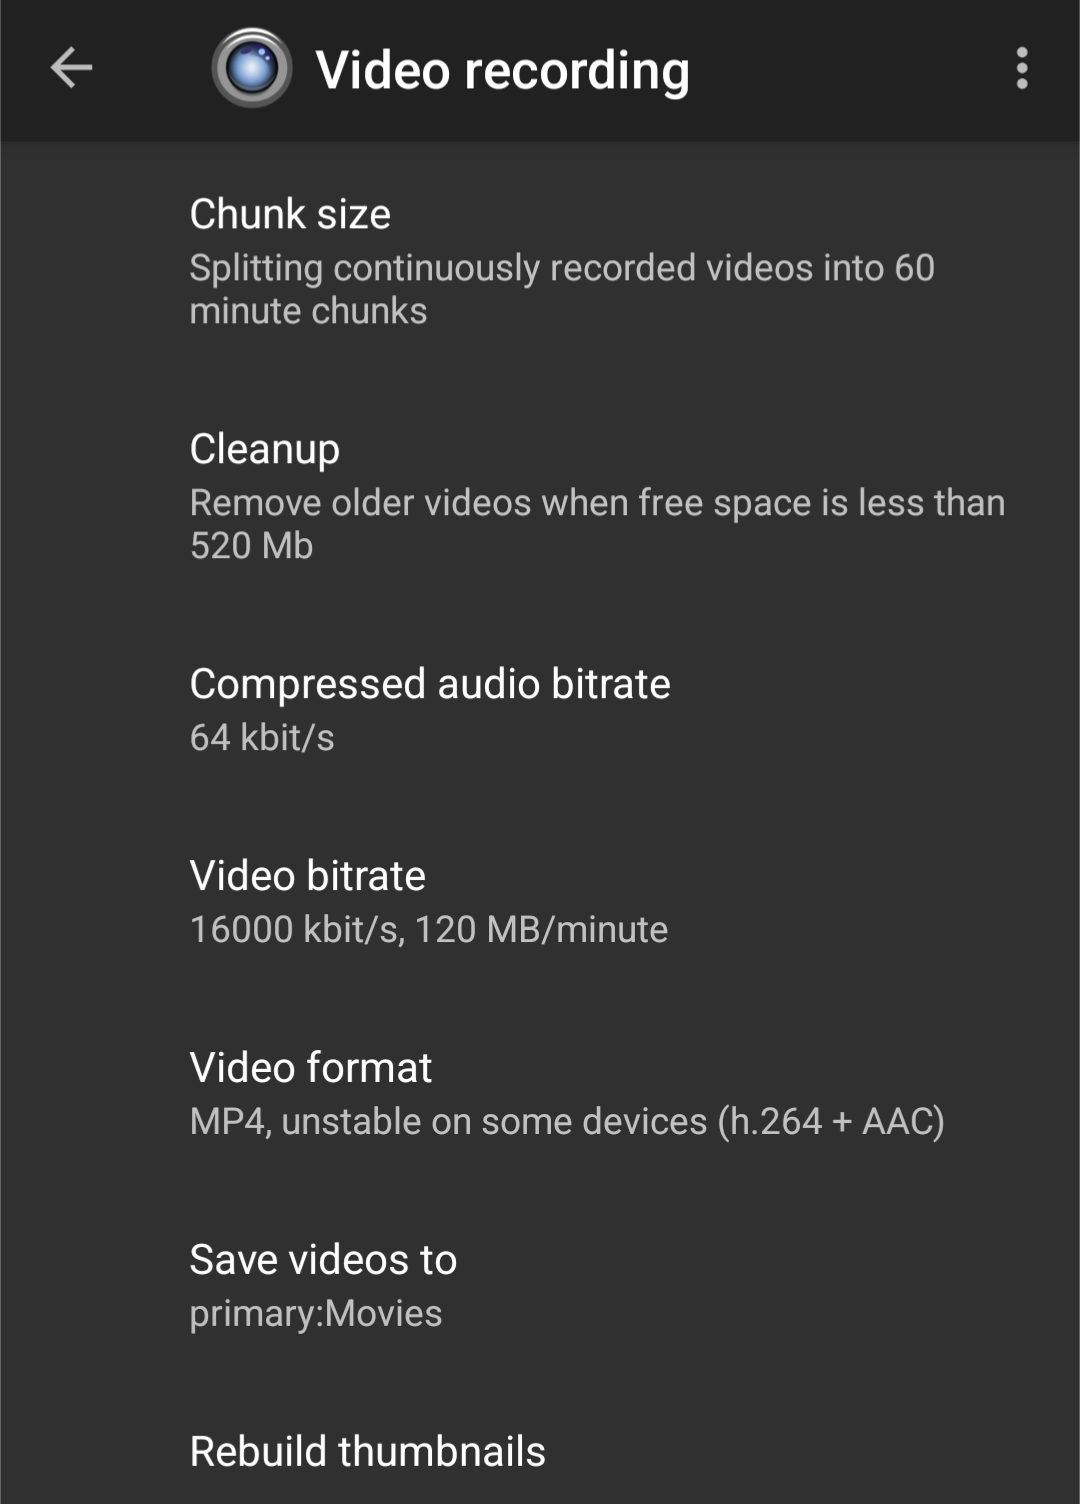
- Video Recording
- Video Bitrate: The only thing I change is the video bitrate option – I have mine set to 4000kbit/s. In between the bitrate on the HDMI/SDI options from the AVMATRIX User Guide on Catapult’s Support Site.
- Video Format: Make sure the Video Format is MP4 – having it as the h.264 video protocol is necessary for Thunder to pick up the video feed.
- Save Videos to (optional): If you want to also record the video on your phone and create a video file. I just selected the “Movies” folder android creates by default.
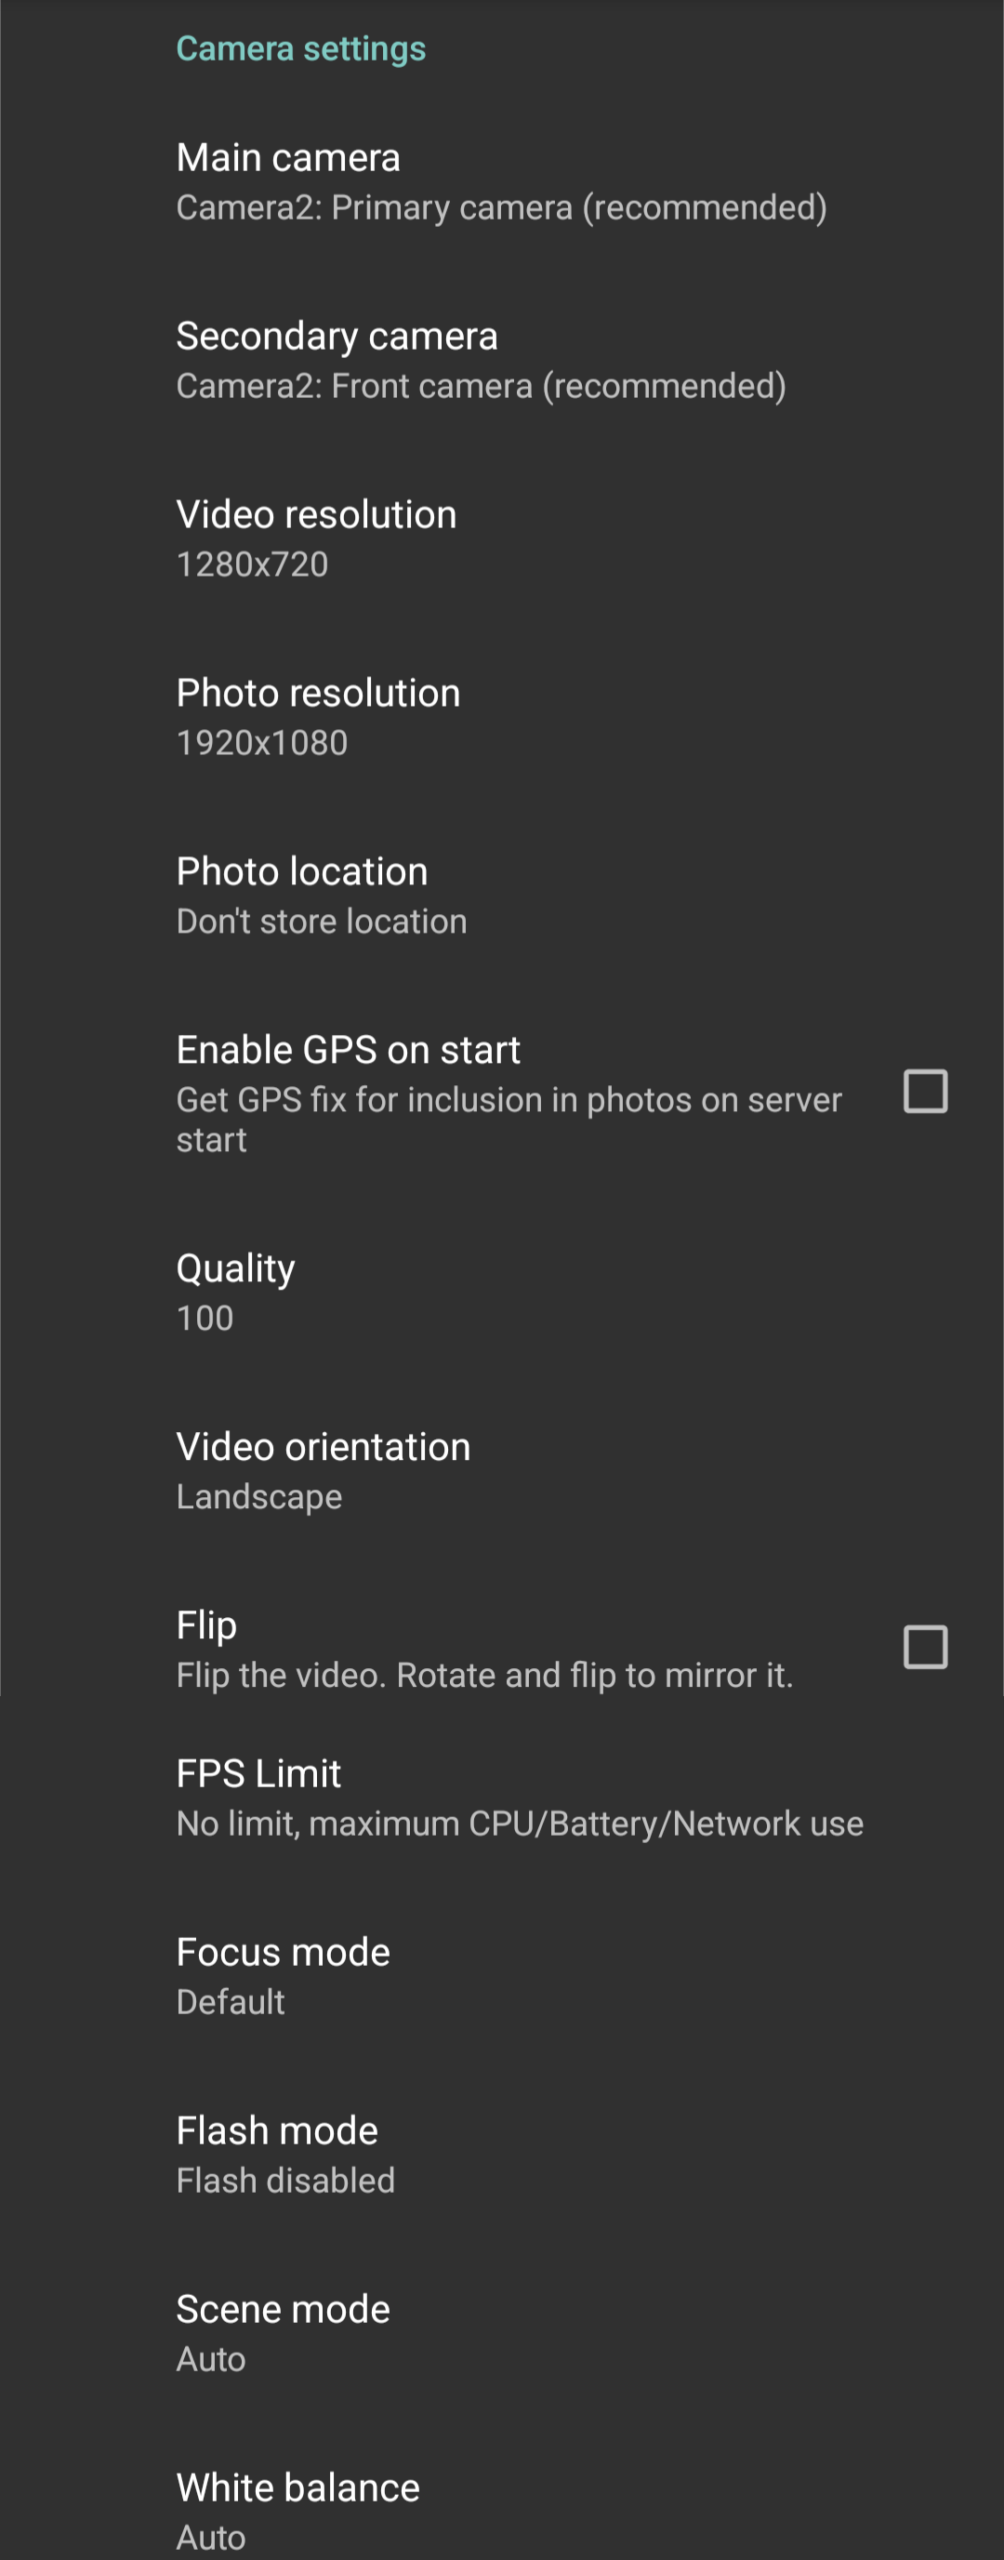
- Main Camera: I am using Camera2: Primary Camera
- Please note your phone may have a TON more options, my Pixel6a is pretty straight forward so try them all out and find which one best suits your scenario. Typically any that start with “Camera2” are your best choices as “Camera2” is the better protocol on android phones.
- Camera Settings
- Video Resolution: 1280 x 720 (pretty straight forward)
- Quality: 100 – move that line to max it out. We have already set a “quality” of sorts with the Video Bitrate from above – we don’t need to make it look worse.
- Video Orientation: Landscape
- FPS Limit: 60
- This is important – again, make sure your phone is capable of doing 60 FPS as this is the preferred method. If not, than 30 FPS will suffice.
- Focus Mode: Smooth, for recording video
- If you run into any options with the camera being blurry or unable to focus – tweak these around, maybe even try default.
- Flash Mode: Default or Flash Disabled
- Scene Mode: Default or Auto
- White Balance: Auto
- Video Recording
- Effects: I don’t use any of these features, but there are minor overlay features you could add on top of your streaming video like embedding the time/date/battery/etc
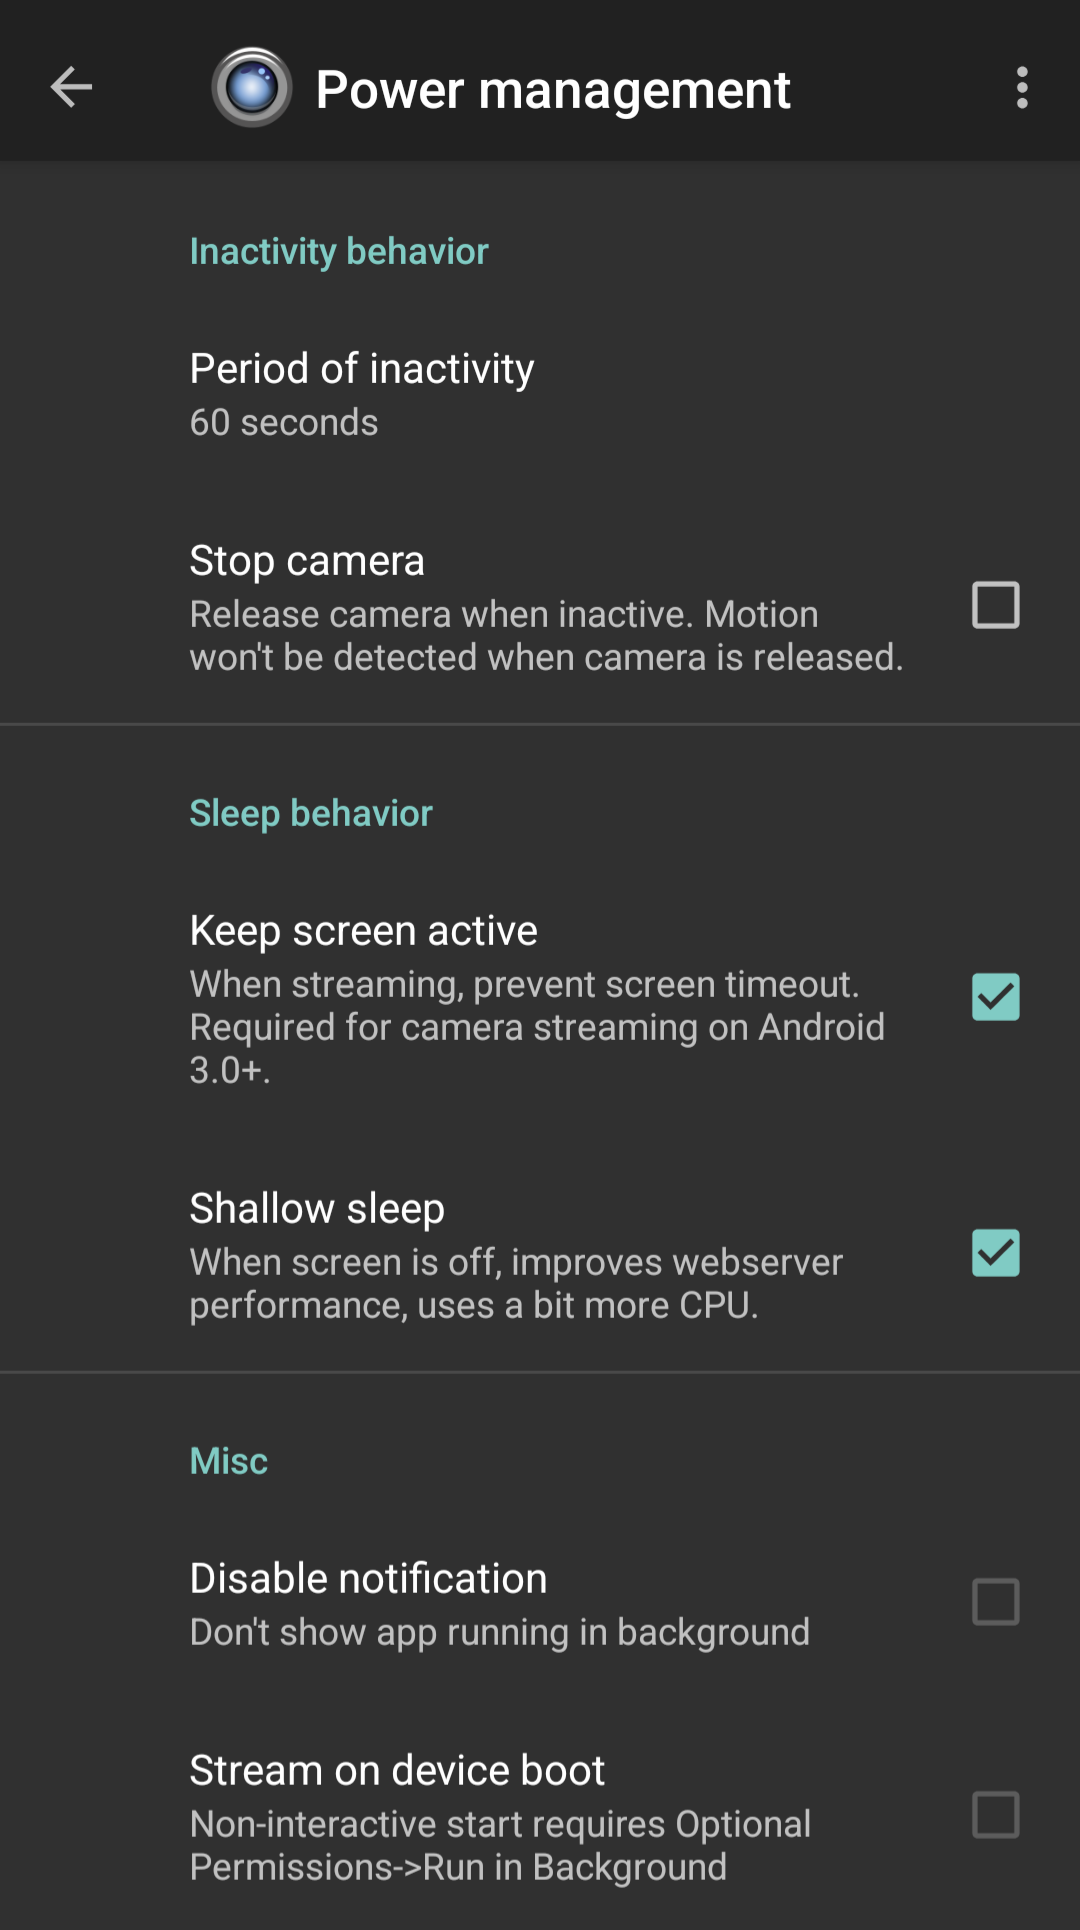
- Power Management: Enable Keep Screen Active & Shallow Sleep.
- Motion and Sound Detection, Data Logging & Interface Options: no changes
- Audio Mode: Enabled/Disabled – did you want audio on your video?
- Optional Permissions: Allow streaming in background – this is a great feature to have enabled.
Configuring Thunder’s Network Capture
Now that we’ve got all the settings correctly enabled, its time to give it a go in Thunder.
- Verify both the phone & capture laptop are on the same network.
- On IP Webcam Pro head down to Start Server
- If you are hit with any prompts to allow IP Webcam Pro to record audio/video do allow.
- You should now be greeted with a screen that shows your video feed with some IP addresses on the right hand side WITH
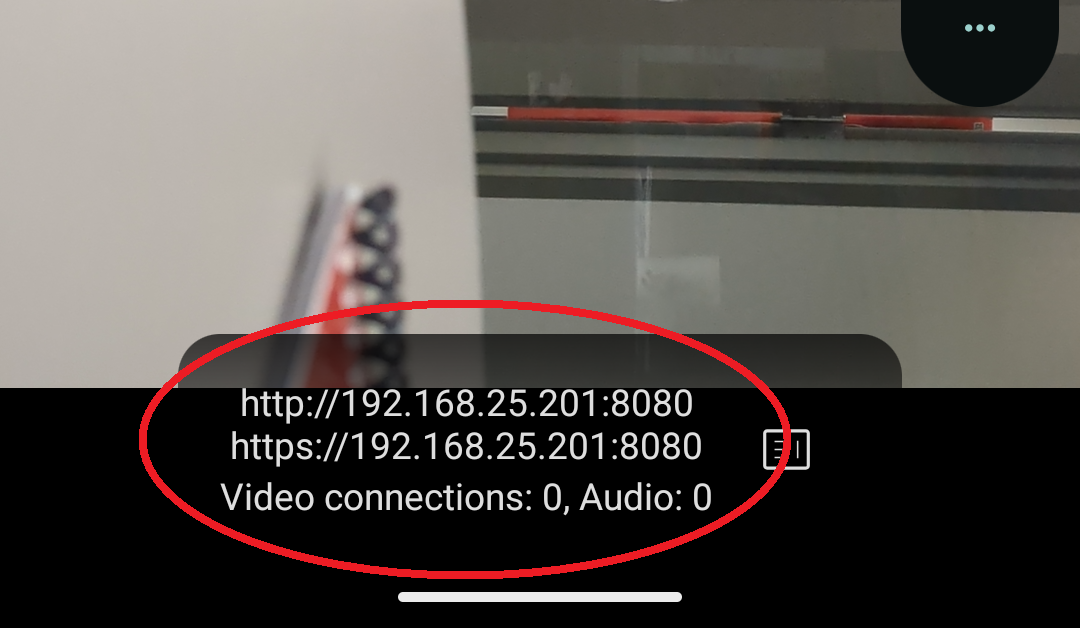
- The URL you will want to use will be something along these lines: RTSP://XXX.XXX.XXX:8080. You’ll want to add a little line at the end of h264.sdp, so the line should read RTSP://XXX.XXX.XXX:8080/h264.sdp. Make note of that as that is what will be placed in Thunder.
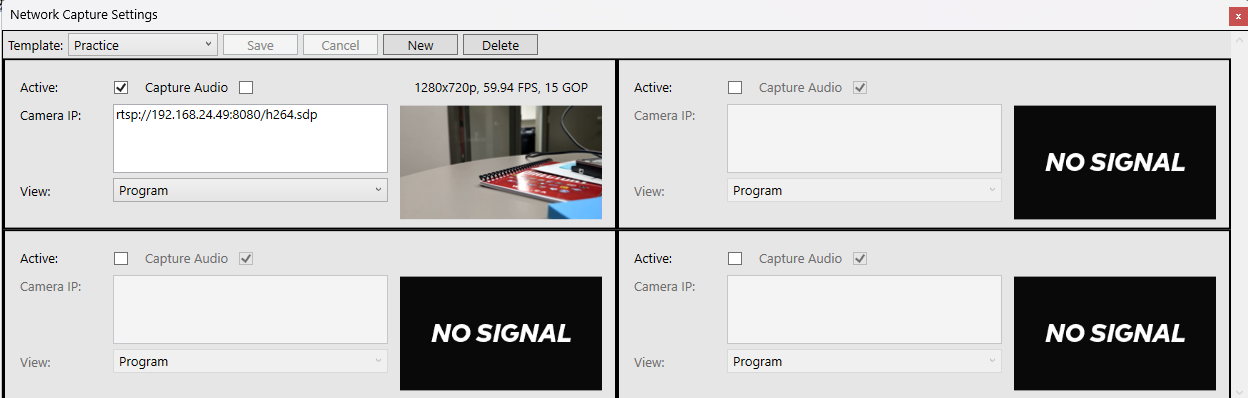
- In Thunder go ahead and load up the Network Capture Window and hit Change. This may hang a bit before dropping an error if you have a network capture setup that isn’t currently running.
- Once in the network capture window go ahead and make a new profile. For the sake of this guide I’ll just call it Practice. Go ahead and fill out the RTSP information from above for your camera. Feel free to select if you want to capture audio or not and click save.
- Once clicking save Thunder will hang for a couple seconds and you should see the capture preview window showing your android phone. Thunder might also kick an error – if that is the case, head down to troubleshooting and see if any of those steps help. If everything is golden you should be at 720p/60fps/15 GOP. Click the red X.
- Lets test a network capture now. Make sure your Capture Template selected is the one you created, click okay, fill out the appropriate information and let Thunder load in to the stream.
- Voila, you are now network capturing from your android phone.
Troubleshooting
Since this is such an odd unofficial setup not recommended or even mentioned by Catapult in any way, there are a few issues. If there are any problems getting it up, here is a couple troubleshooting issues I would go through:
- Make sure your settings are correct in the Android App, as the 720P/60FPS/15GOP is very clear on Catapult’s site or you will run into errors about being unable to communicate with the device or find the stream. Also verify that it is recording in H264 in the video format options.
- Going into the “change” button on Network capture settings prior to beginning Capture and verifying the camera feed was working before beginning my capture almost always seemed to make it work without any issues.
- Give Thunder a restart.
- Check to see if you can load up the camera’s URL in a browser. if you change your RTSP to HTTP (AKA rtsp://192.168.44.143:8080 to http://192.168.44.143:8080) it will load up a page that shows the stream as well as options you can change on the phone. With this you can verify your phone is either reachable via your laptop or it isn’t.
Accessories
Depending on your usage cases, here are a couple items I can reccommend:
- Baseus PicoGo AC22 Mini Power Bank 10000mah
- A power bank is a must so you can keep your phone up and running for long lengths – 10000mah should be enough to get through an entire hockey game. It doesn’t necessarily have to be this specific one but definitely stay away from weird amazon brands and stick to well known brands like Baseus/Anker/Belkin. Just do some research so you don’t end up with a power bank that burns down your rink.
- Suction Cup Mounts
- I love having these little buggers, suction cup these bad boys to somewhere and let them be. If your phone is capable of magnetic charging you can also get the one side suction cup and the other a magnet to place it on.
- Phone Tripod
- Pretty self explanatory, a tripod to put your phone on for recording. For my set-ups I’d have two phones set up on the suction cup mounts on the north/south end and than a phone at the middle of the ice on the tripod.
Hopefully this is useful to some people! I’m working on the iOS version of this with a similar app which is also available on Android. Got any questions regarding using phones as network capture devices? Let me know, I’d be happy to help.